|
||||||||||||||||||||||||||||
|
||||||||||||||||||||||||||||
|
Do you remember studying history in school? It seems like the textbooks were full of dates, names, and places! I remember studying about well known leaders such as Alexander the Great, Napoleon Bonaparte, Julius Caesar, and Robert E. Lee, however studying about these people or their countries or empires would elude me, as I had a hard time piecing the puzzle together! We often jumped back and forth in time in our studies, only taking small chunks of history chronologically. Even then, those blocks of time floated around in my head, never coexisting, never making a pattern that would make sense to me. After all, time is an abstract concept! For a young mind to grasp this concept is asking quite a lot; it's like asking someone to visualize a puzzle from a few fragments of interlocked sections. You can see bits and pieces, but the overall picture does not take shape or make sense yet. This actually made history boring to me and I had no interest in pursuing it. Isn't it funny how time can turn things around? |
||||||||||||||||||||||||||||
 WALL TIMELINES WALL TIMELINES
|
||||||||||||||||||||||||||||
|
PORTABLE TIMELINES
1. Accordion Fold Boards:
2. Sketchbook Timelines:
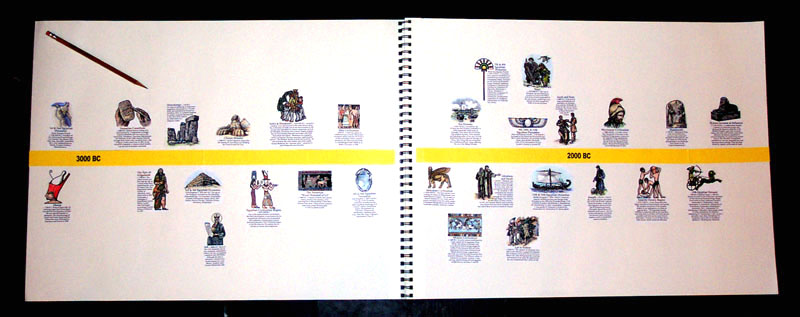
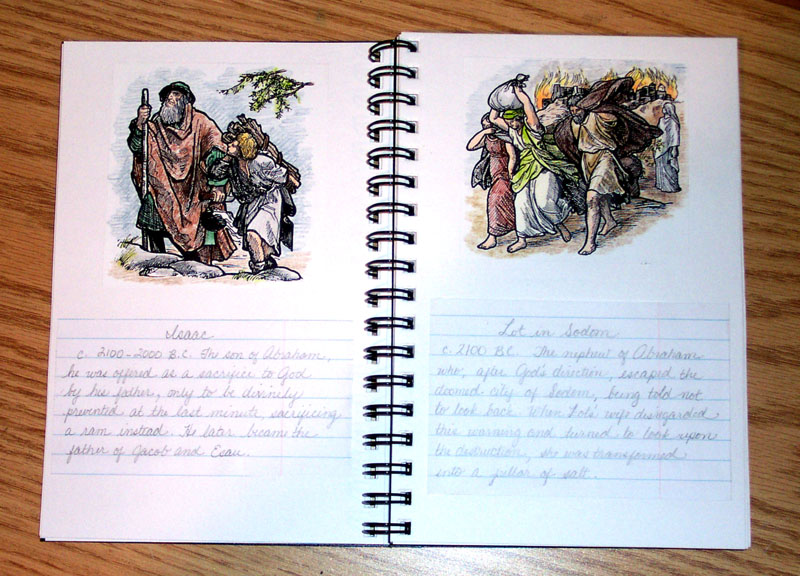
Another portable method of creating a timeline is to use a sketchbook. This is an ideal way to take advantage of an already spiral bound format. Many are bound at the short side, allowing much width for the timeline. The paper weight is usually a heavier gauge, and will hold up with care. This is a viable alternative that travels well and stores easily. I suggest copier-weight paper (generally 20 lb.) for the timeline figures in this method, as the card stock weight will create bulky and heavy pages.
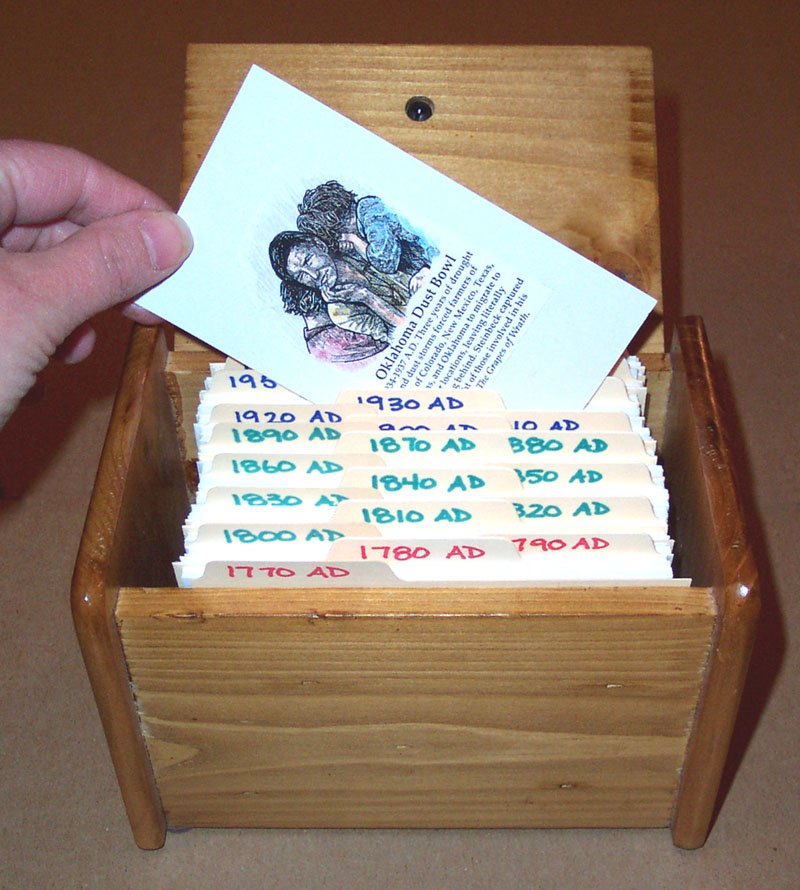
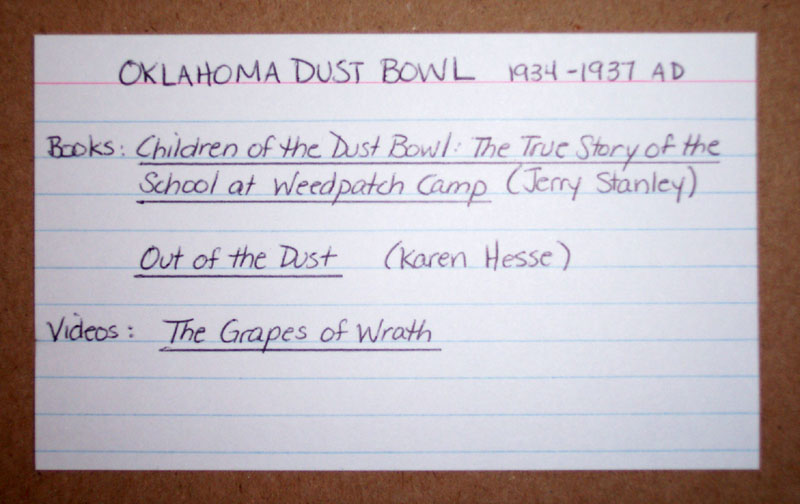
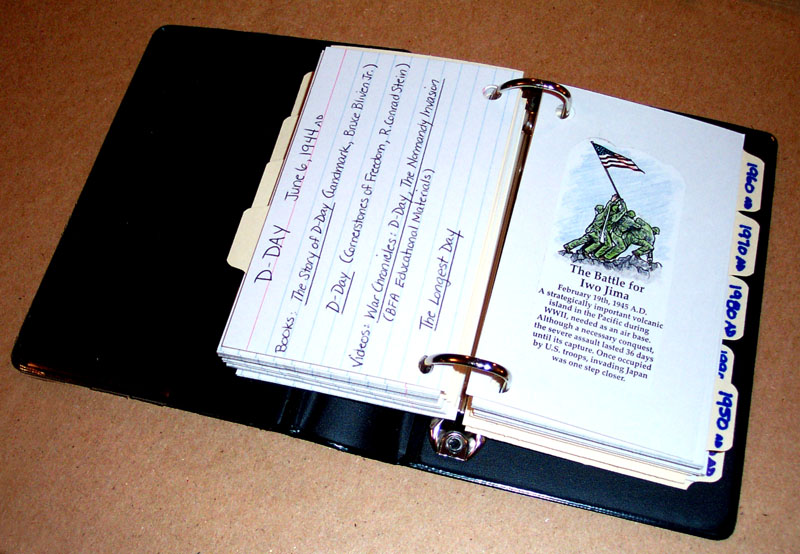
CHRONOLOGICAL CARD FILES: You can store the cards in more than one way. File boxes are one choice, with dividers for centuries or eras. Another method is hole-punched in a two-ring index card binder. The binders only hold about 100-150 cards comfortably, so you may want to actually dedicate binders to different eras or time periods. Some binders also come with a clear cover for inserting a picture. This allows your child to create a personalized cover.
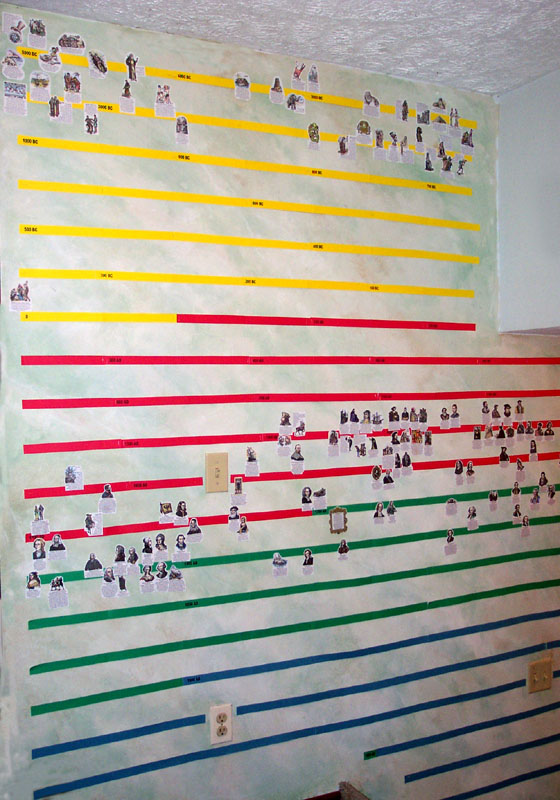
These ideas are great for small rooms or spaces. The main drawback is that the timeline is not always visible for the children to view daily. Wall timelines can also be changed periodically. Studying history seems to rotate, often taking the same subjects and reacquainting yourselves with them more in-depth at a later date. We take down several of the figures after a year or two, so we can reapply them after we've studied the topic again, or so the younger children can have their chance at putting them on. Also, they can become too accustomed to the eye; a constant fixture that you just don't see anymore. Have you ever had a stain in your carpet that bothers you for a while, but after a time you barely notice because it's a part of your everyday view? It's good to "refresh the view" once in a while! Cycling the figures helps to do just that. |
||||||||||||||||||||||||||||
|
NOTEBOOK TIMELINES
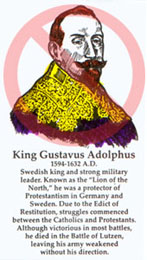
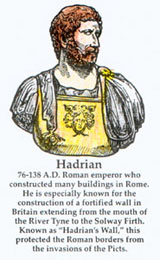
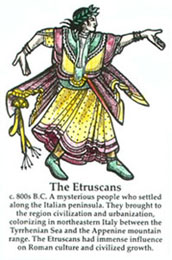
Notebook timelines fill another need. They not only are an answer to the issue of space, but they allow each child to personalize their timeline and create a keepsake that is years in the making. Notebook timelines are portable, allowing the child to have it with them anywhere they are studying, whether in the classroom, kitchen, bedroom, or a friend's house! Children can add to notebook timelines throughout all their school lives and beyond. If you have been studying the early American colonies, you might have all your children put the figures for Peter Stuyvesant, Roger Williams, William Penn, etc. on. If your daughter chooses to read Indian Captive (by Lois Lenski), she may want to write in Mary Jemison in her notebook timeline. If your son is reading The Last of the Mohicans, he may want to add the figure of James Fenimore Cooper. The difference here is that each notebook is truly specialized to an individual child. You can also personalize your timelines with family history, such as when your ancestors first came to your country or when relatives or friends were born. Allowing your children to color the figures, decorate the pages, create a cover, and so on, is a great hands-on way of allowing them to personalize their timeline notebooks and make them truly theirs. You can purchase published notebooks* that are designed to have figures and text added to them, or you can make your own! *Be sure to check out our "Record of Time" notebook! CREATING A TIMELINE NOTEBOOK: 1. The Vertical Format:
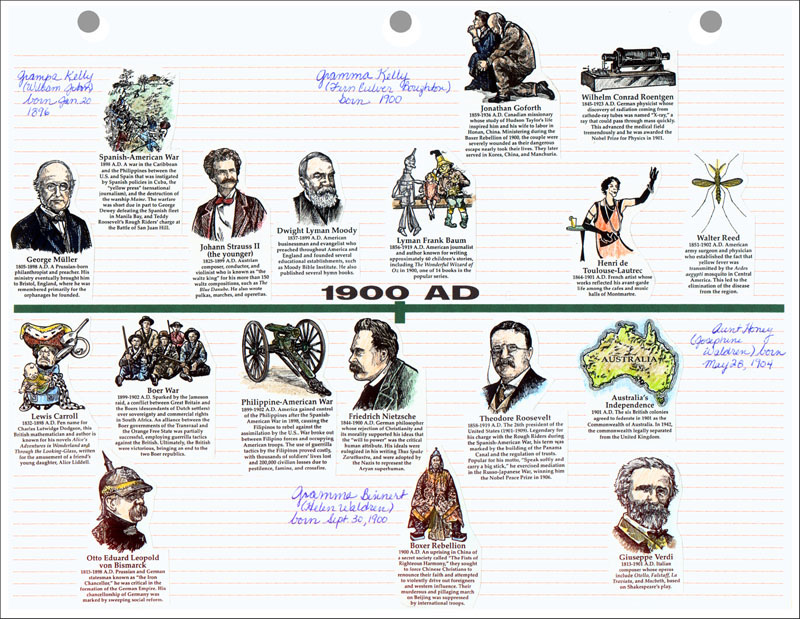
This is the type we have used for years. With the three-hole-punch at the top of the 11" side of the page, these pages are used on one side only, allowing the child to remove the pages and lay them side by side to view a continuous timeline whenever he or she wishes. I included a thick rule across the middle of the page with the date in the middle of the line. I also included light college-ruled lines in the background so the children could write additional information if they desired. This is not necessary, but it helps keep writing neat and strait. All these lines and dates were printed from the computer.
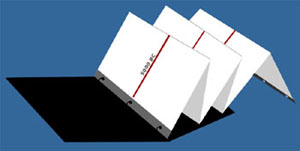
3. The Accordion Fold Format: I don't recommend this version for larger notebooks, but it works well for unit study timelines, such as presidents, composers, British Monarchy, the War Between the States, etc. This is a little tricky, as it needs shorter pages for its center, which will clear the binder rings.
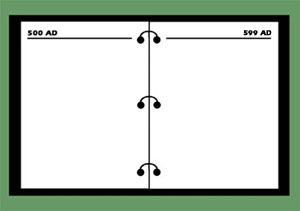
FREQUENTLY ASKED QUESTIONS: At what date do you place the timeline figures in the notebook? This is a good question and has a variety of answers! Some figures are obvious, such as D-Day. It was June 6, 1944, so it would be placed at 1944. But what about a long event or a person? For events, I generally found putting it at its point of origin is best. This introduces the event into being. For example, The War Between the States began in 1861, and the figure states it ended in 1865. This way, we will realize that any figures after 1861 were happening "during" the time that this war was being fought, such as the construction of the Transcontinental railroad. When it comes to people, that totally depends on their lives. They can be placed at their time of birth, time of death, or an important time in their life. Again, some are obvious; a president may be placed at his time in office or a king at the beginning of his reign. An inventor may be placed at the time of his invention. But what about a person with many talents or professions? Do we place Ben Franklin at the time he entered Philadelphia as a printer or when he flew the famous kite? How about during the Revolutionary War or perhaps at the writing of the Constitution? At this point I leave it up to the child, where he thinks the figure is most important, as that is how he may remember it best. How do I date the notebook? In even increments? I've heard it said that in order for a student to truly understand the space of time and history, you must have equal amounts of space between dates. This is all well and good if you have the room for it! When you are spanning thousands of years, such as from the Creation to the earliest signs of civilization, it would be highly difficult to allow five-year increments without going through lots of blank pages and an extremely thick notebook! It would also be a waste of money and card stock. This timeline figure set allows for detailed information of America's history -- most of it taking place from the 1700s to present -- and when combined with world history, it makes for a lot of figures to make room for! It's mandatory to keep the pages to five-year increments. Thus, equal spacing between years is not practical in this situation. I have also found that the children seem to grasp the concept of unequal distances between time, as the dates help determine when we've sped up or slowed down through time. Many moms have written or called asking me how I space our notebook timeline pages. Using the notebook-size figures on our CD, here are the increments I found to fit a notebook timeline (horizontal format, as pictured above). This is with one date per page:
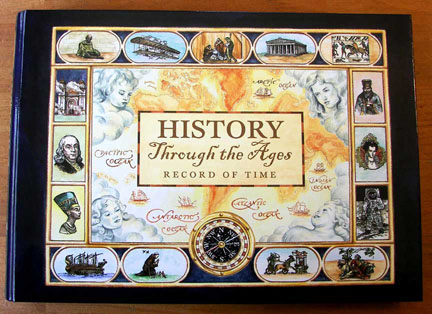
You may want to consider our "Suggested Placement Guide" for help in placing figures. Our guide shows the number and placement of figures appearing on each page, allowing your child to see how each page is organized. This also helps with showing where there will be room for a child to add annotations of his own. Check out our website (linked below) for more information! How do I create the lines on the pages? If you have access to a color printer, using the computer allows you to color-code the rule lines or dates to represent different eras. Almost since Home School in the Woods began, moms have been asking us for a notebook to house our timeline figures! I'm glad we waited, as we had no idea how many figures we'd end up with, and years of use of our own homemade notebooks gave me time to gather ideas of what we'd prefer in a notebook and what we'd want to avoid! One thing that was crucial was that I wanted it to be something that would take years of use--opening and closing, gluing, coloring, showing off to friends and relatives; the whole gamut! Eventually, this work of art would become a keepsake full of cherished memories of the children's learning adventures! The best answer to that was to make it both hard-cover and to have heavy-weight pages. It also needed to lie flat, so the child could work on it easily. It had to have ample pages and an appealing look. I also envisioned maps within it--great references to plot out points of study! The child could record Paul's missionary journeys, draw the borders of the Chinese dynasties and The Great Wall, or perhaps color in the states of the U.S. as they achieved statehood. Finally, HISTORY Through the Ages Record of Time was created! It includes all that I'd hoped for: hard-cover 3-ring binder, with 144 pages on ivory-colored cover stock (card stock), 11" x 8.5" (horizontal format), dating from 5000 BC - 2025 AD, with quotes adorning each page-spread from someone pertinent to the time period on the page. There is even a special signature page at the beginning of the book for the child's name and the date he or she begins!
|
||||||||||||||||||||||||||||
|
GAMES AND OTHER RESOURCES
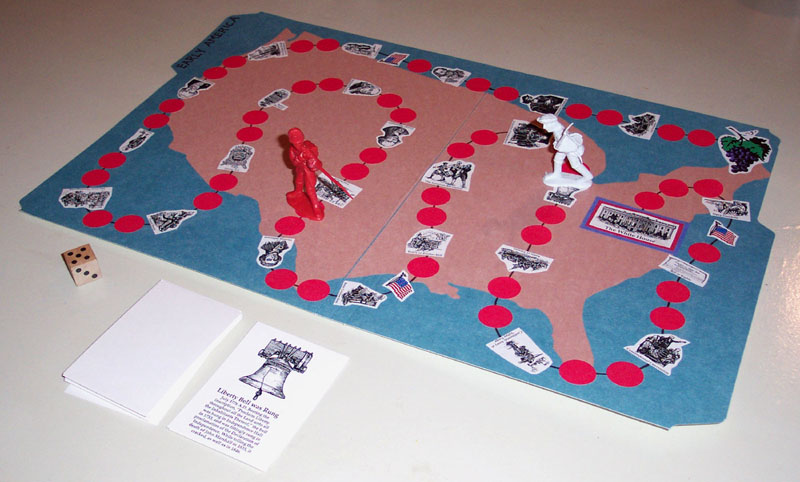
There are a myriad of ways to utilize the timeline figures in various forms of learning! Just as there are a variety of learning styles, there are also as many ideas that meet each child where they learn best, making learning a subject just a little more fun! GAMES:
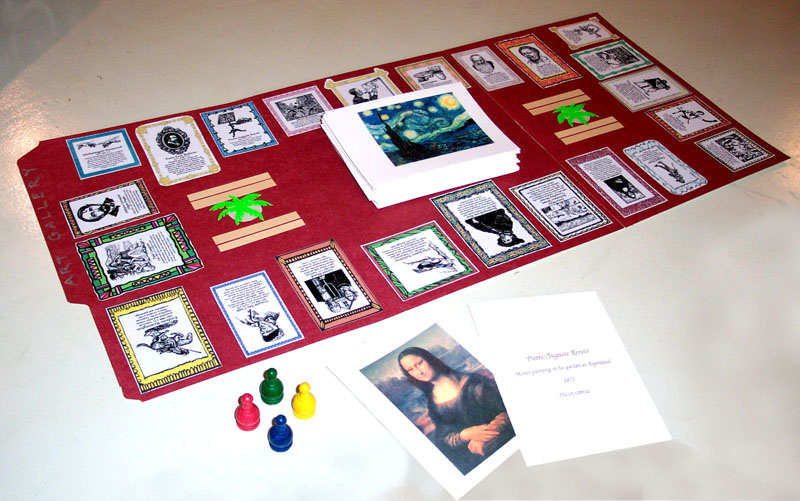
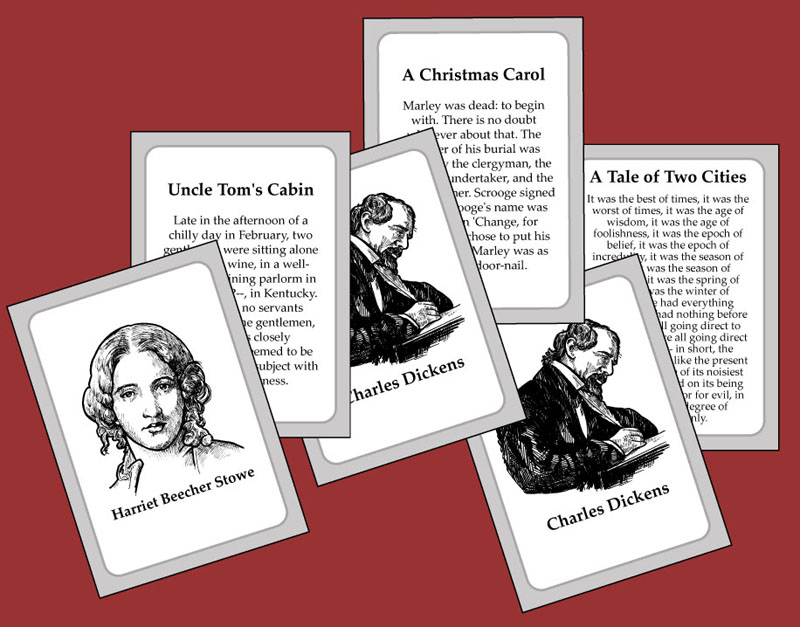
Another game we call "Art Gallery." First I took the artist timeline figures and placed them in frames, gluing them all around the board. The children can help out by drawing fun frames to put the figures in! Then I gathered images of paintings and sculptures from all of the artists in the gallery. I tried to find anywhere from 2-5 images per artist (This can even be done with a book of art, providing the instructor finds images ahead of time). Each player can start anywhere in the gallery, and the object is to make it all the way around the board back to your original frame. At each player's turn, he has to name the artist who created the painting at the top of the pile. If correct, he advances to the next figure. If not, he has to remain until he gets one correct (one try per turn). The figure descriptions give hints as to styles, paintings they are famous for, etc. There are several levels this can be played on, too! If artist names get too easy, there is the name of the artwork, the year it was created, and the medium that was used. I gathered all the information and put it on the backs of the cards. Many moms have mentioned the matching games they have played with their children. Some have used doubles of the figures, mounting them on equal-size card stock, (index cards work well for this), and played "concentration." You can also play versions of Go Fish and Old Maid with doubled figures. Perhaps you are studying the world wars. You can have doubles of Pershing, D-Day, Macarthur, Allies, Tojo, Pearl Harbor, etc., but have only one Hitler. He can be "Old Dictator," or something to that effect.
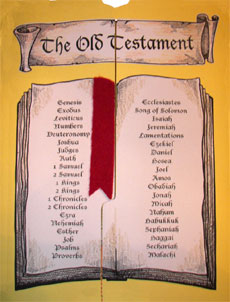
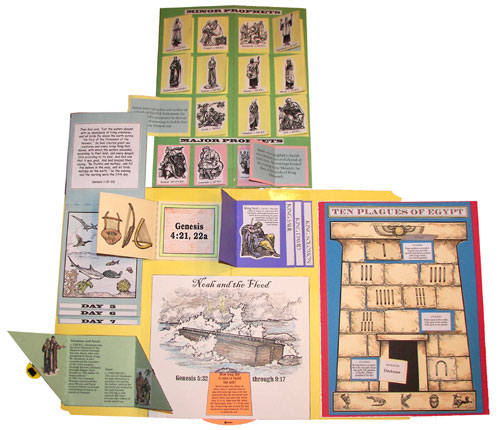
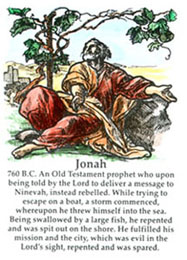
LAP BOOKS Lap Books are something the children are not only excited to make, but proud to share with others. The projects in Lap Books can range from simple drawings to pop-ups, pull-tabs, and spinning wheels! What used to be boring and mundane work gathering and recording research on a topic is now an enjoyment for the children by making mini-books with special shapes, sizes, folds, flaps, and windows! The timeline figures work wonderfully in this area, too! Here is an example of a Lap Book that we have created while studying the Old Testament. Using colored file folders, we enlarged this Lap Book using two folders as our base to work on. I found it easier to create a "prototype" Lap Book first, so I would get a better idea of how big the elements should be that go in it. As the children create the mini-book projects throughout the year, I keep them stored away in zippered sandwich bags. When the subject is completed, we would then combine them all into the Lap Book. This particular Old Testament study is a year-long study, but this works wonderfully for unit studies and short topics!
PENMANSHIP:
|
||||||||||||||||||||||||||||
|
COLORING FIGURES AND OTHER TIPS
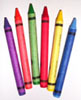
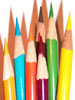
One of the best things about timeline figures is getting the children to work with them! And what could be more fun than learning by coloring! This way, the child observes the nuances of the picture, pays attention to detail, and has just filed this particular lesson in his memory! If your child is of reading age, he most likely reads the text while coloring, again reviewing the material. However, before your children sink much time, effort, and hard work into creating a timeline that will last all their years, there are some things to consider to eliminate possible pit-falls! Here are some tips we've learned along the way that may be of some help to you! MEDIUMS: 1.) Many have fat tips which make it hard to get small details colored in without muddying up the image. 2.) Markers can become very dark on the card stock and will cover the lines. 3.) Unless you have a wide variety of colors, you will not have a peach or skin tone color, forcing the child to use a basic color, which will not look very realistic. CRAYONS: Crayons are another choice of younger ones, and although they do work fine, they are still hard for getting small detail due to their fatter tips. What's my favorite choice? COLORED PENCILS: Colored pencils! They give you a wide range of colors, the ability to color in small areas, and much better overall control. There are many brands out there, however bear in mind that you often get what you pay for. The younger children have used less expensive colored pencils and they generally work fine. If you can invest in a decent set of pencils I would recommend Prismacolor®. There is definitely a difference in quality, and you know the old adage: a worker is only as good as the tools he uses! WATERCOLORS: For the more advanced artist, there is one more medium that creates a beautiful look--watercolor! You can control shading in ways that make the final result look like the old hand-painted color plates from books of the 1800s! Again, better tools make for better art, so be sure to use a good card stock, nothing too light weight, and try to stay away from cheap watercolors. If you can't afford Grumbacher® or brands such as that, I suggest Prang® watercolors for children. The students at our local art college use these and are generally under $10 a set. Try not to saturate the figure with too much water, though, as it can ripple. Should this happen, place the figure between two sheets of paper and gently iron on a warm setting. DO NOT use mist, as it will run the paint! This will return your figure back to flat and as good as new. Here are samples of the figures colored with the four mediums I discussed. You can see the differences in the result:
ADDITIONAL COLORING SUGGESTIONS: Bonnie B. wrote to suggest: "My children use Kimberly® watercolor pencils (like colored pencils) to do the timeline figures, then we have a Zig® blender pen to go over with. It is much easier to do than standard watercolors and is harder to mess up. We have also used stamping pastels with the blender pen and that gives a beautiful effect. These can all be found at any stamping supply store and most craft stores." PAPER STOCK: Self-adhesive label stock is another alternative, too! For those that want to be able to cut out, peel and stick permanently, this eliminates any use of glue. You can find reams of this at most office supply stores. Just make sure that you get label stock that can go through a printer/copier. Printing onto card stock is always a good method for wall timelines or game cards. If you are intending to watercolor and you want to use a watercolor paper to print onto, remember a couple of tips: 1) Make sure your printer can handle the weight of the paper. Water color paper comes in many weights and most printers can not handle more than 110# index weight. 2) DO NOT try to use water color paper that has a texture to it (cold press)--it will drop out sections of the image. Try to use a smooth paper (hot press). Regular card stock does work as well, although, again, better tools produce better results. In this case, however, you may find that the card stock works just fine. To add interest to your projects, try copying the figure onto other colors of paper! Perhaps you'd like to do a mini-book of Ancient Rome--try using a beige marble paper! Or a flip-book of the Middle Ages--try copying onto gray paper! Here's a cool idea--tea stain your paper ahead of time, allow it to dry and iron it flat before using it in the printer! Talk about an authentic effect--it not only looks antique, but the sound and feel of it will make you think you're holding century-old artwork! This is a great way for creating old newspapers, diaries, maps, and documents for projects. Be creative! The possibilities are endless! ADHESIVES: Adhering to Wall Timelines: ADHESIVE PUTTY: When it comes to wall timelines, we use adhesive putty which makes them removable without damaging the wall. I have noticed that you do need to pull it up slowly, however, so as not to pull up the paint. STAPLING: Other moms have stapled them to the drywall. I can see where this would work, as we have stapled our lines to the drywall, and upon removing the staple, it only leaves very tiny holes. It's a slightly more permanent method for the figures, but can be removed with care. DOUBLE-SIDED STICKY TAPE: Some moms have used this idea, which is a more permanent solution if you are adhering the figures to paper of some kind (the timeline lines in the package or a home-made paper timeline). I do not recommend gluing them down, unless you plan on a permanent position for them. I prefer to keep the wall timeline less permanent, as we often rotate figures, taking some down after a year or two to prepare to put them up again when studied at a later date or with the younger children. Adhering to Notebooks or Other Portable Methods: This is definitely when I want a more permanent adhesion, and I've learned a few things along the way NOT to do! My first mistake was using liquid glue to adhere them to our card stock notebook pages. Remember the rippling effect I mentioned that watercolors can give? Same thing here! Too wet. Unless you are ready to iron down all your pages, there is a better way. GLUE STICKS: This was my solution to keeping pages flat and gluing the figures down totally flat! The way to do this is to use another sheet underneath as scrap (you'll need several sheets if you are gluing a bunch of figures--you don't want to put your figures down where the glue stick has spread on the scrap paper). Beginning at the center of the back of the figure, glue right off the edge of the figure. This will glue the figures down fully and make for a neat appearance. Also wash your hands periodically, as the glue on your fingers will transfer onto other fronts of figures and can get messy. Make sure you use permanent glue sticks as some are geared for preschool children and do not stick as well. You may want to test your glue stick on something before beginning this project. DOUBLE-SIDED STICKY TAPE: This is another good method for notebooks and such, but does not adhere the full figure. The problem with that is that edges can be bent and figures can catch, accidentally ripping them off. The best use I found for this type of tape was in needing to adhere larger objects, such as elements in a Lap Book. Instead of wasting a lot of glue stick, you can tape all the edges and center of the larger objects. I did this with the Plagues of Egypt in the Old Testament Lap Book mentioned above. On that point, the tape will also hold up better to the weight of the mini-books than glue-stick would. OTHER TYPES OF TAPE: Tammy B. wrote to share this tip: "I wanted to share that I have been using Scotch® Clear Removable Mounting Squares... for my timeline figures (but we have only been doing this a year, although the 3 yod has relocated figures a couple of times!) I gave up using the putty tacky stuff when I had troubling getting it off the wall before repainting and once (using the blue stuff) had it discolor my wall. I usually cut the squares they have into fourths for anything as small as our timeline figures though." |
||||||||||||||||||||||||||||